Export Data From SQL Server To Excel in SSIS 2014
In this post, we are going to create a package to select the data from SQL server database and export SQL Server table data to EXCEL file in local hard drive.
STEP 1: Drag and Drop the Data Flow Task from tool box to control flow region and rename it as Export Data From SQL Server To Excel
STEP 2: Double click on data flow task will open the data flow region. In data flow region drag and drop the OLE DB Source and Excel file destination.

STEP 3: Double click on OLE DB Source to configure the SQL Server connection manager and also to select the required data from the table.
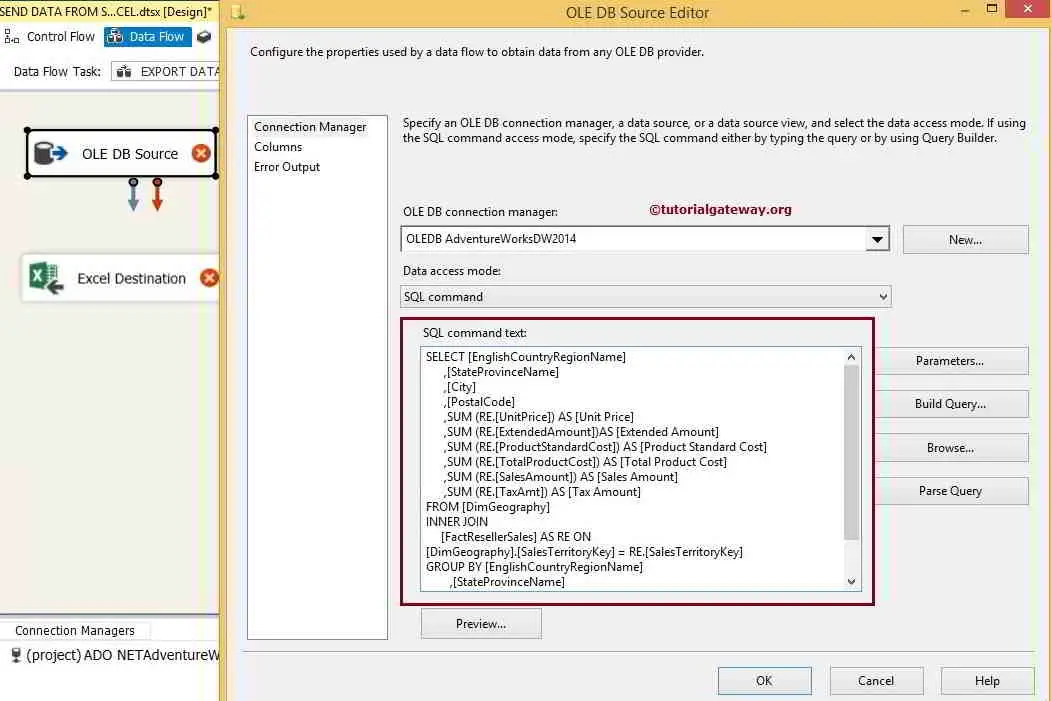
SQL Statement we used above is
For this example, We are selecting the [Dim Geography] and [Fact Internet sales] tables present in the [Adventure Works DW 2014] database.
STEP 4: Now click on the columns tab to verify the input columns and then click ok. In this tab we can uncheck the unwanted columns also.

TIP: If we don’t want any column then don’t add them in your SQL command.
By clicking ok we are done with our source part.
STEP 5: Let us configure the destination by double clicking the Excel file destination
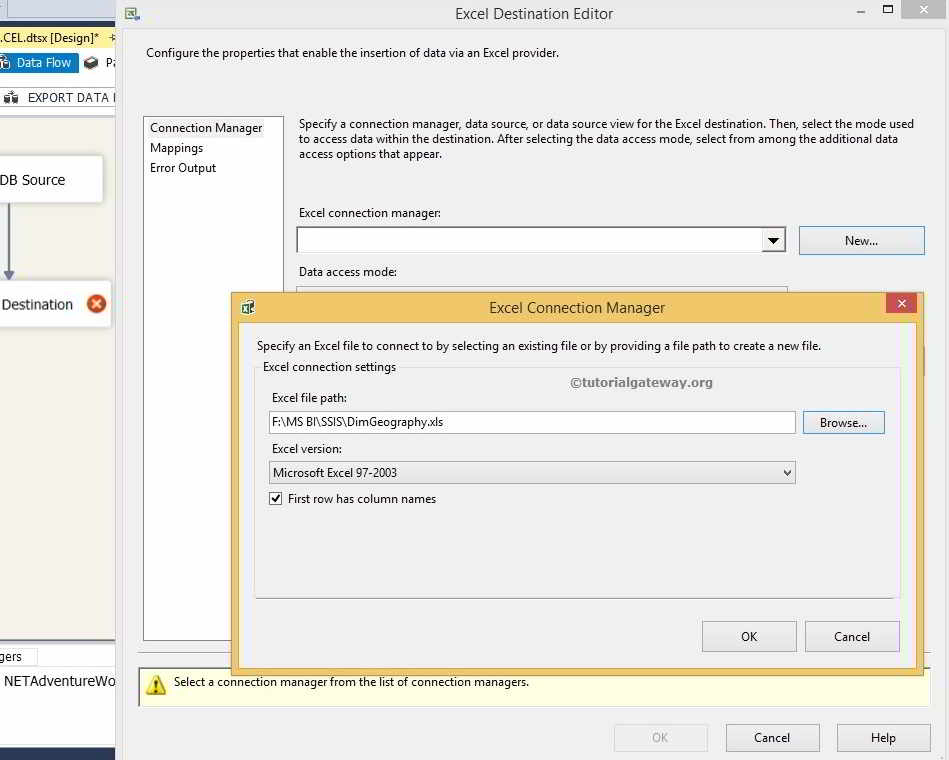
Here we selected the DimGeography.xls as our excel destination sheet
TIP: You have to create the Excel sheet before using it in the Excel Connection Manager and Excel file should not be open while running the package.
TIP: If you check mark the First row has column names option then, Column names will be saved in the first row of the selected Excel sheet.
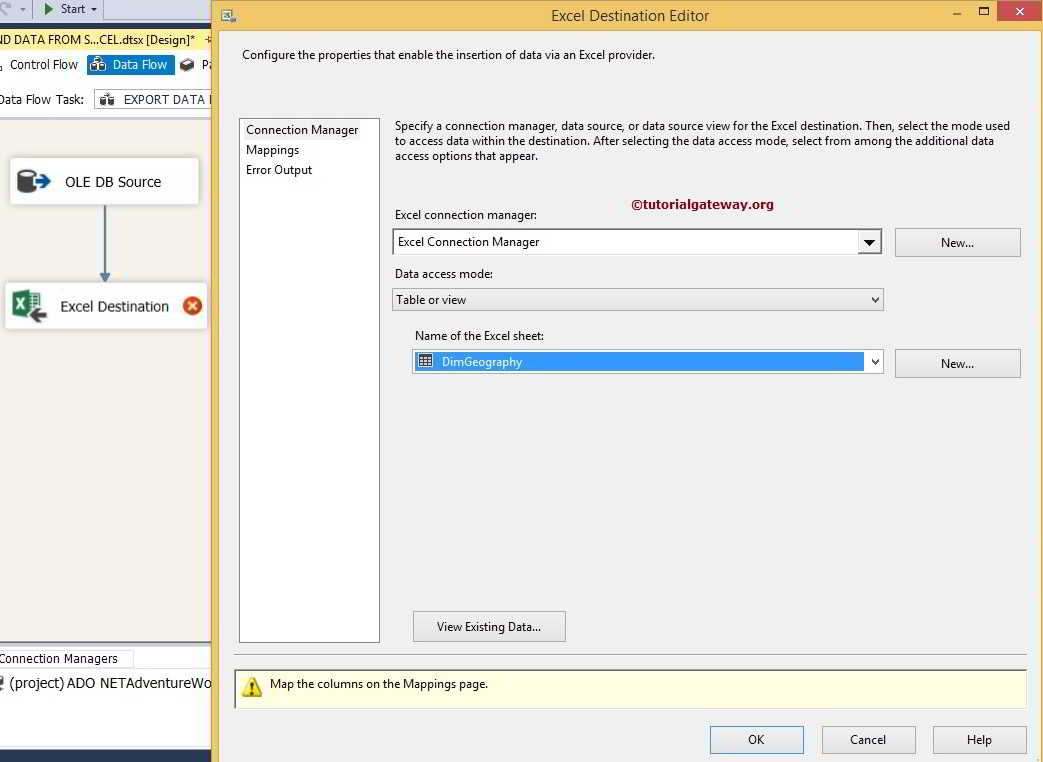
Here we selected the DimGeography table so, to check the result you have to open the DimGeography sheet inside the DimGeography.xls
STEP 6: Check the mapping tab whether all the rows are exactly mapped to the destination columns or not.
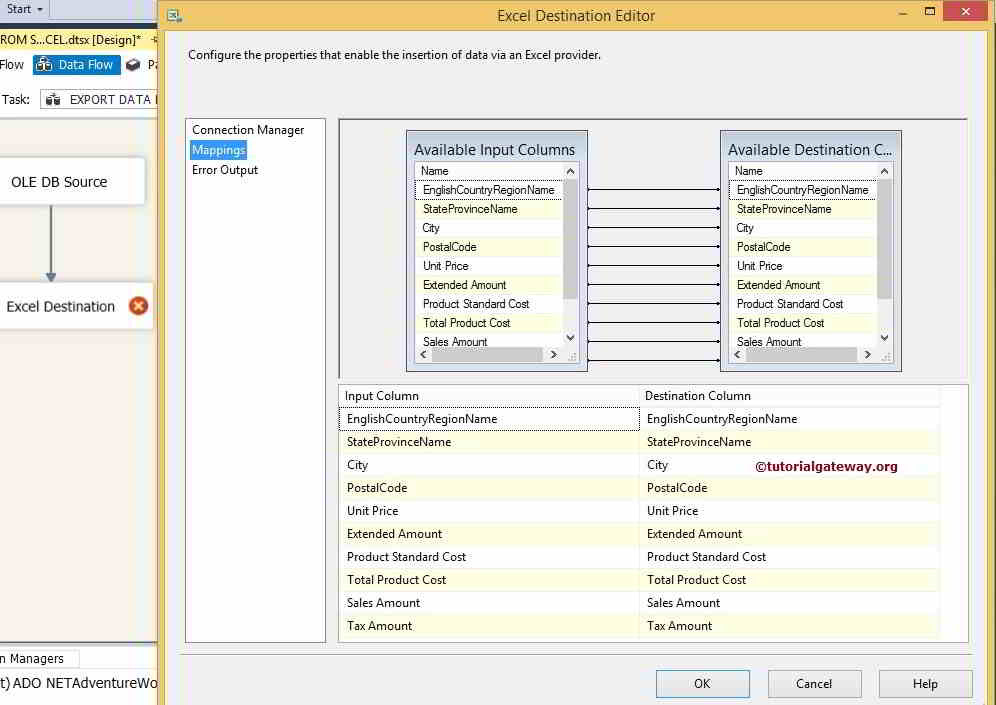
NOTE: If your input column names and destination column names are same then, the intelligence will automatically map. If there is any changes in the column names then we have map them manually.
Once you done with mapping click on ok button to finish the project development. Let us run the package and see
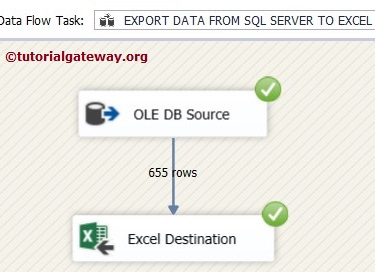
Let us open the excel file and check the result

Thank you for Visiting Our Blog
Export Data from SQL Server to Flat File in SSIS 2014
In this post, we are going to create a package to select the data from SQL server database and send that data to the text file in local hard drive.
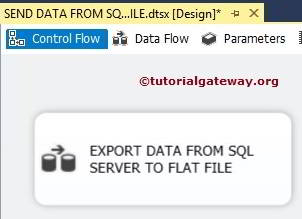
STEP 1: Drag and Drop the Data Flow Task from tool box to control flow region and rename it as Export Data from SQL Server to Flat File
STEP 2: Double click on data flow task will open the data flow region or tab and then drag and drop the OLE DB Source and Flat file destination in to data flow region.

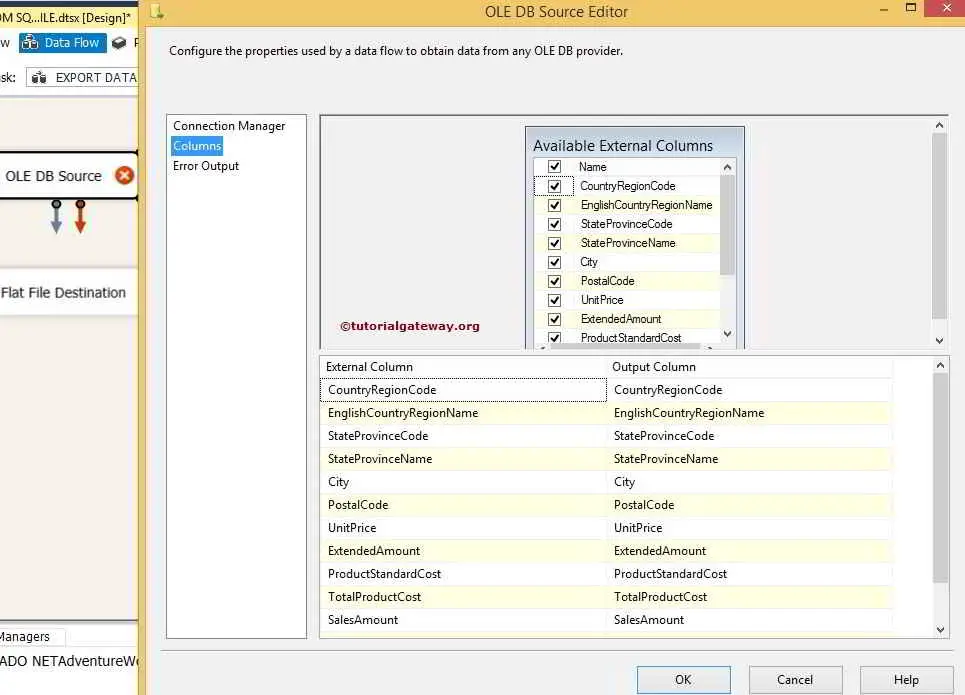
STEP 3: Double click on OLE DB Source to configure the SQL Server connection strings and also to select the required data from the table.

SQL Statement we used here is
STEP 4: Click on the columns tab to verify the input columns and then click ok
By clicking ok we are done with our source part.
STEP 5: Let us configure the destination by double clicking on the flat file destination.

We have not created any Flat File Connection Manager before So, Click on New button will open a window form to select the Flat File Format as shown in below image
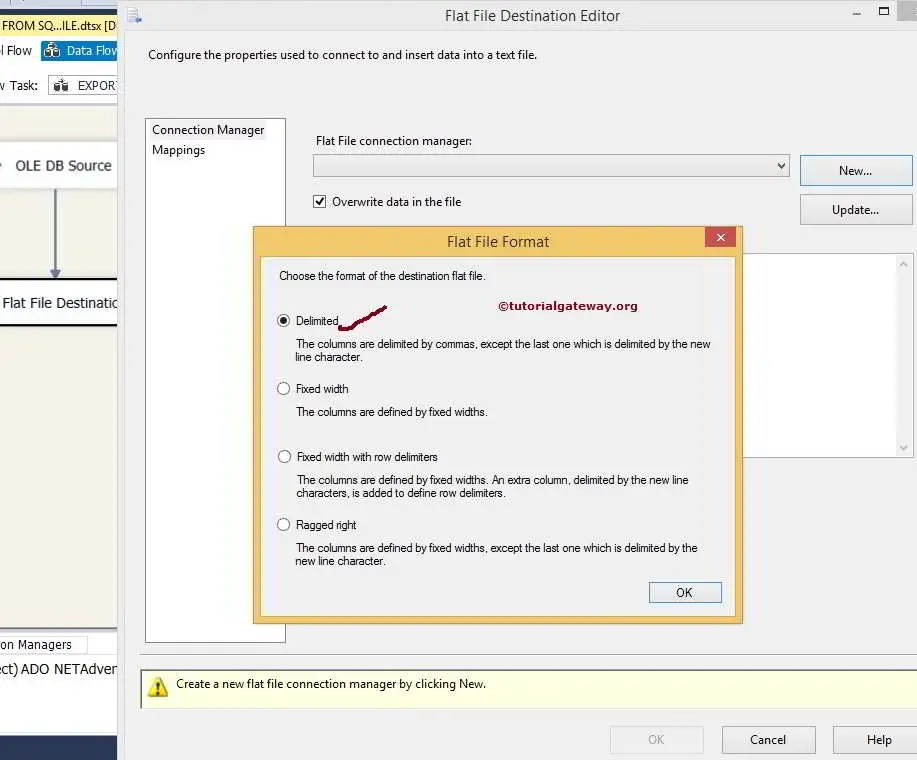
From the above screenshot you can observe that, We selected the Delimited option. By clicking Ok button will open the Flat File Connection Manager Editor to select and configure the text file.
By clicking on Browse button we can select the destination text file
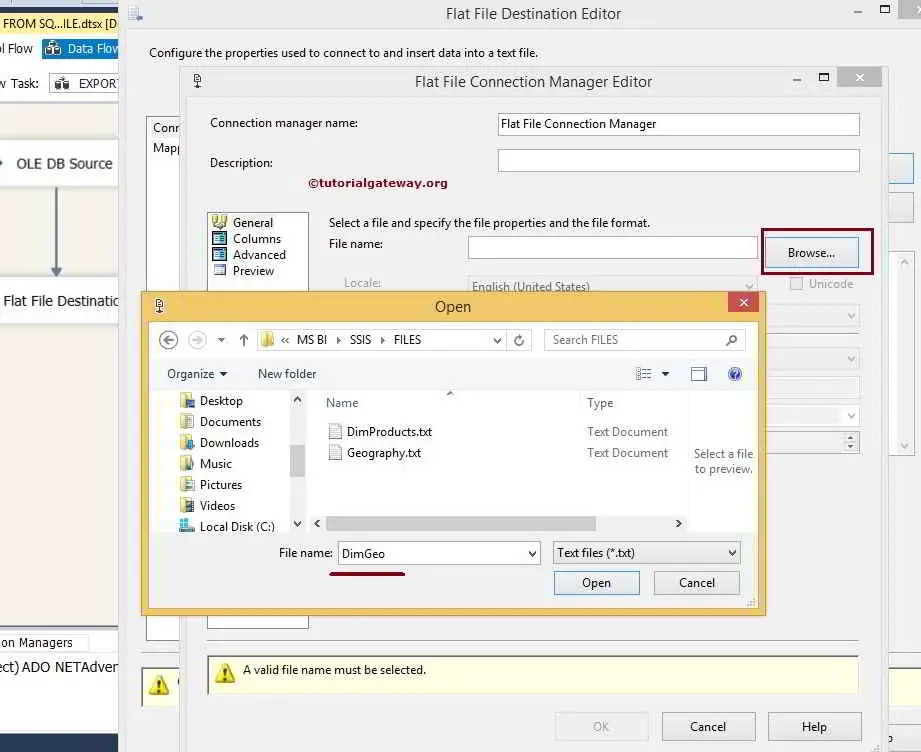
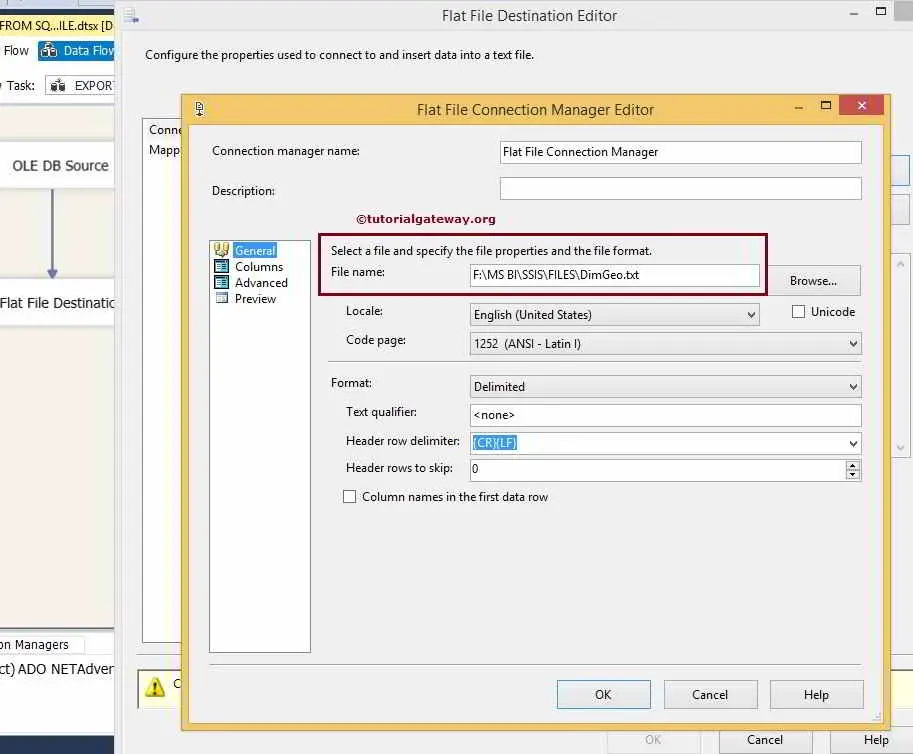
From the below you can observe that, We selected the DimGeo text file located in my local hard drive.
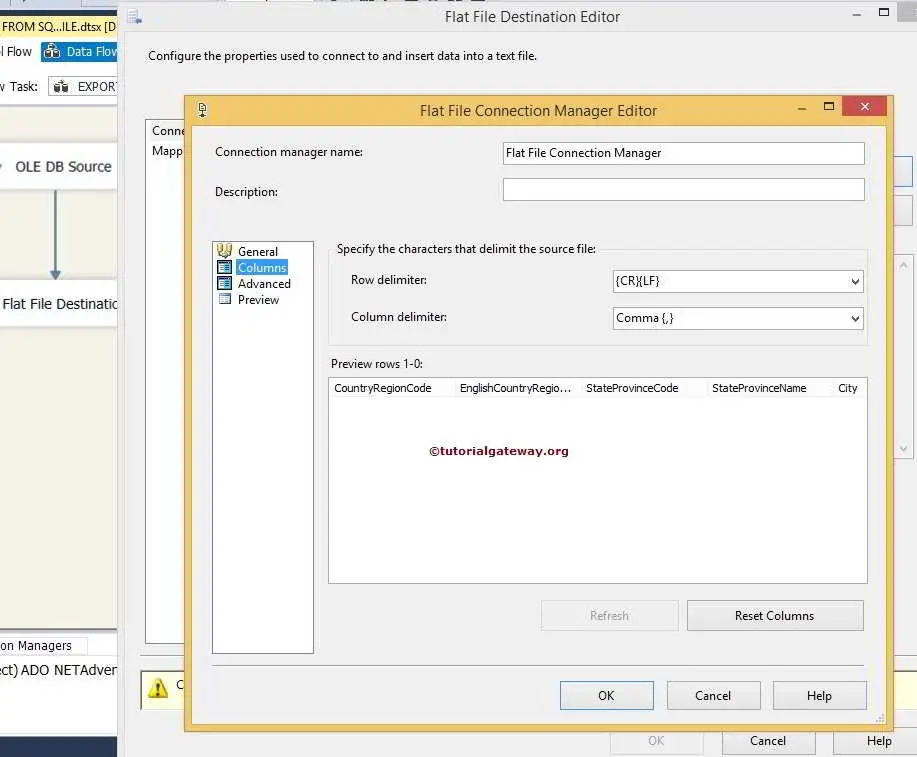
Click on the columns tab to verify the column names
Click ok to create new flat file connection to the file we want to use as destination.
STEP 6: Check the mapping tab whether all the rows are exactly mapped to the destination columns or not.
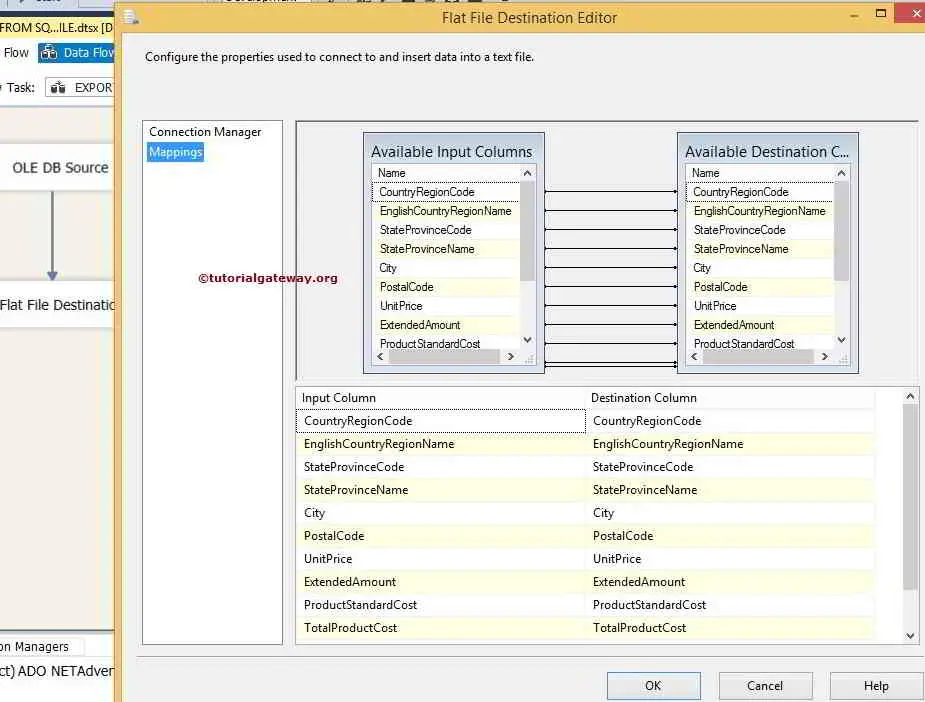
Once you done with mapping click on ok button to finish the project development.
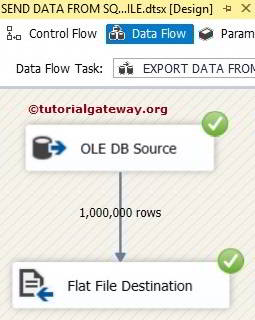
Let us run the Send Data from SQL Server to Flat File package and see
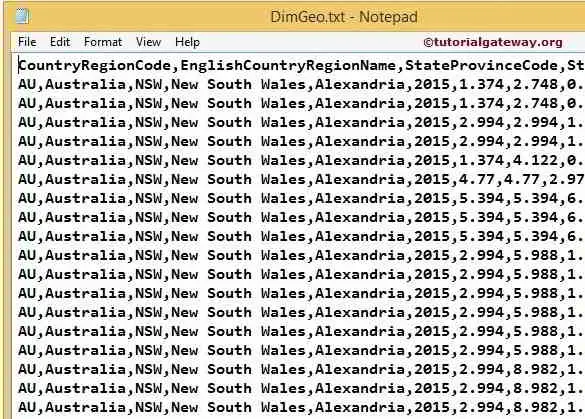
Let us check the result by opening the DimGeo text file
Thank you for Visiting Our Blog