Hi Friends,
The blog post will teach you to achieve the same effect as slowly changing Dimension (SCD) transformation without using the SCD transformation of SSIS.
The steps will guide you as to how we can create the SCD effect using the transformations in SSIS without using SCD.
The SCD is used to populate the Dimension tables of a Data Warehousing database. Remember, that in a DW system the approach to store data is different from that of an OLTP database. If you work in a DW environment then you hear these SCD types frequently.
There are 3 types of SCDs
- Type 0 : Fixed Attributes
- Type 1 : Changing Attributes
- Type 2 : Historical Attributes
We will first create an OLTP table where latest records are stored all the time and a Dimension Table to accommodate 3 SCD types.
Copy and paste the below code in SSMS to create and insert few records in your OLTP table.
Copy and paste the below code in SSMS and create a Dimension table in your database.
Here in this table you can see columns like CurrentRecordID, RecordStartDate, and RecordEndDate which will help us to identify the latest records and the associated dates for current and previous records.
So, now we are ready with our DB tables.
Before we proceed with our SSIS package design, let’s decide which columns we need to configure as SCD Type0 / 1/ 2.
So we consider
- Type 0 (Fixed Attributes) : Gender, Fname, PermanentAddress
- Type 1 (Changing Attributes) : PresentAddress
- Type 2 (Historical Attributes) : Designation, MaritalStatus, Lname
Now let’s create an SSIS solution for implementing Custom SCD.
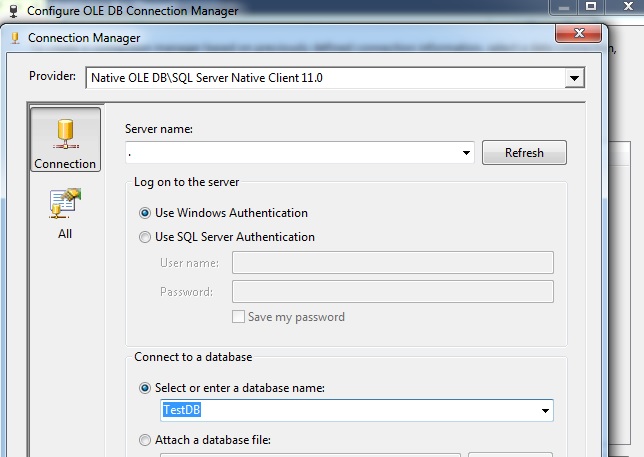
Let’s start by creating connection to DB in Connection Manager Section of SSIS as shown below.
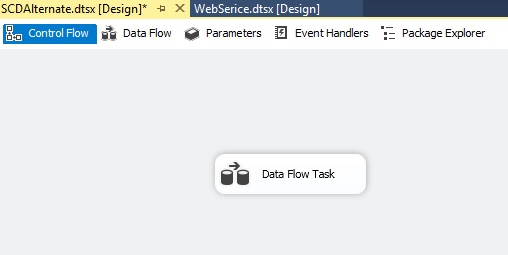
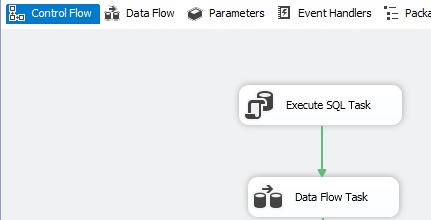
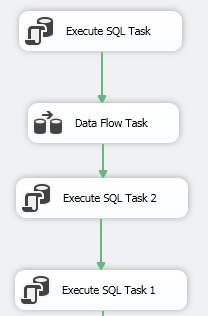
Now drag and drop a Data Flow Task in the Control Flow tab as shown below.
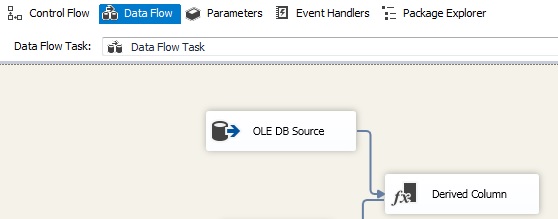
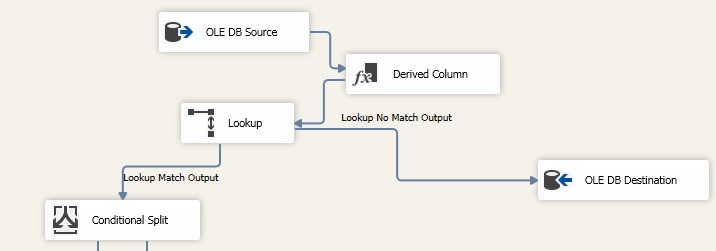
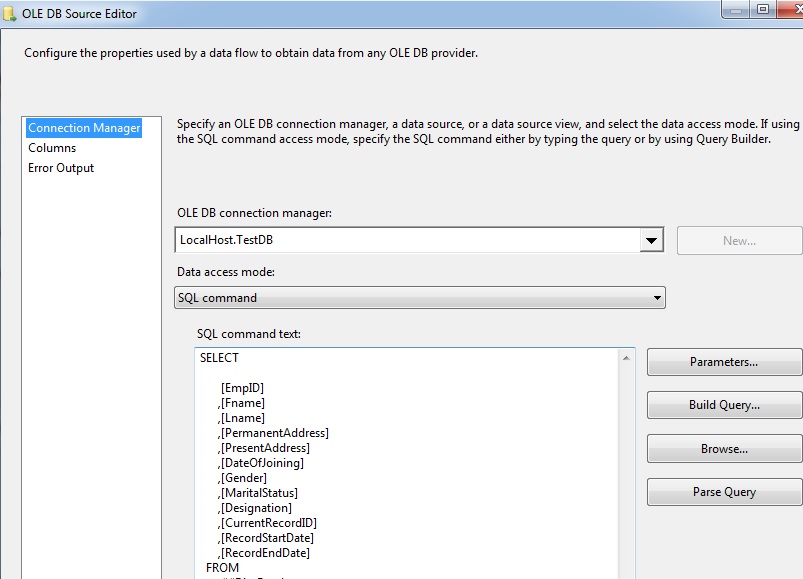
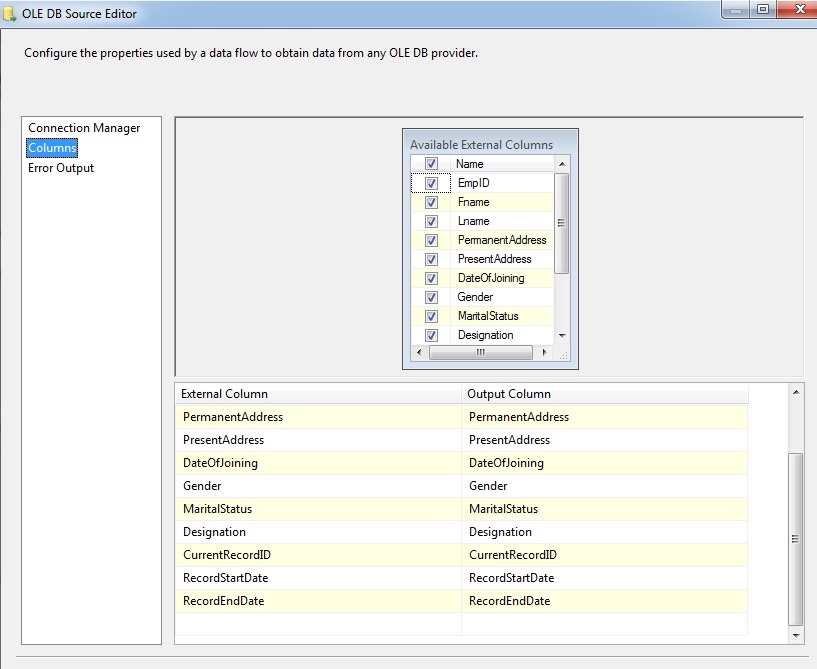
Edit the Data Flow task and drag and drop an OLE DB Source in Data flow tab.
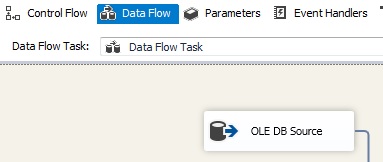
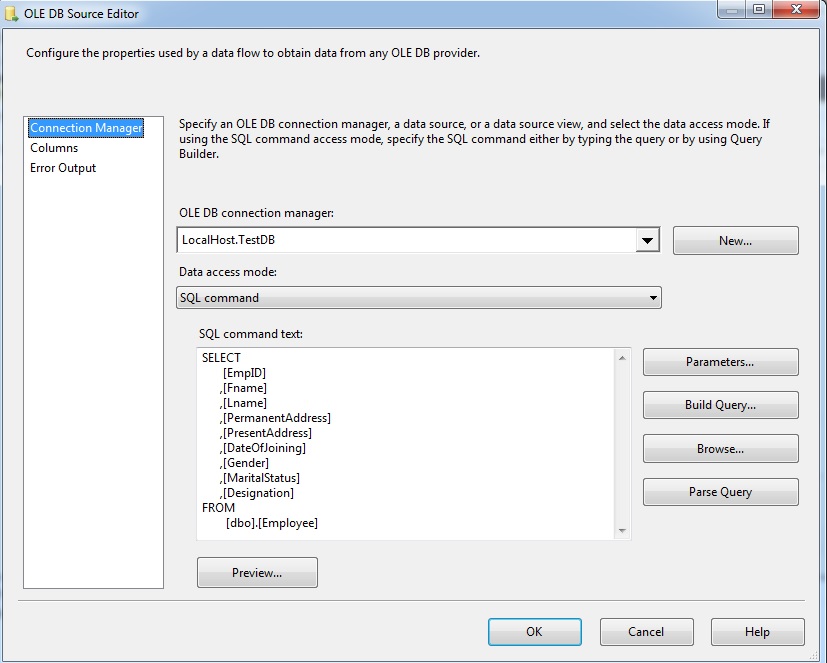
Edit it as shown below.
Now, drag and drop a derived column transformation and connect the output of OLE DB source to it and add the columns as shown below.
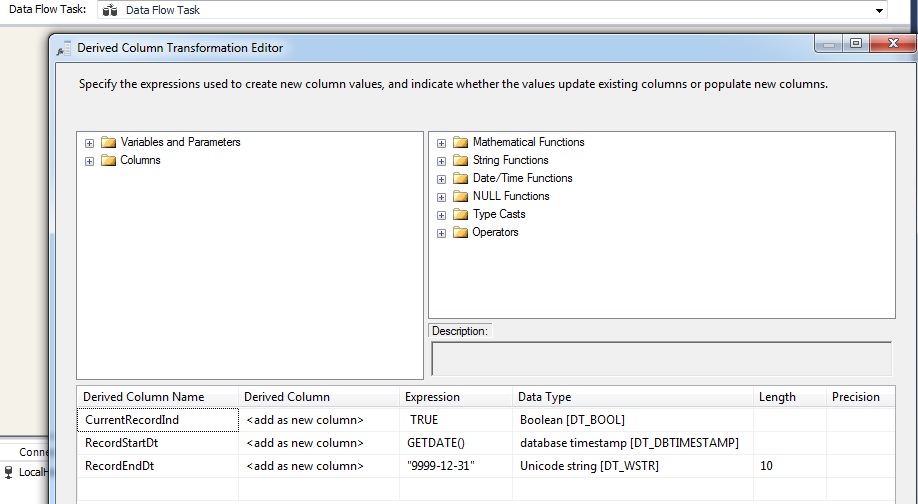
The purpose of adding these columns is to populate the values of CurrentRecordID, RecordStartDate, and RecordEndDate columns in our target (Dimension) table.
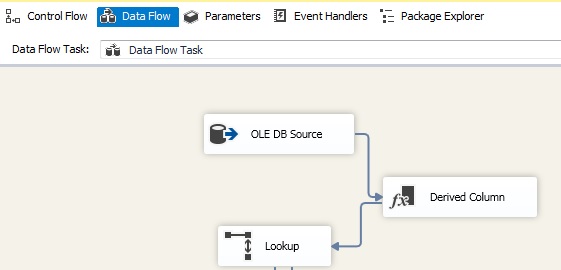
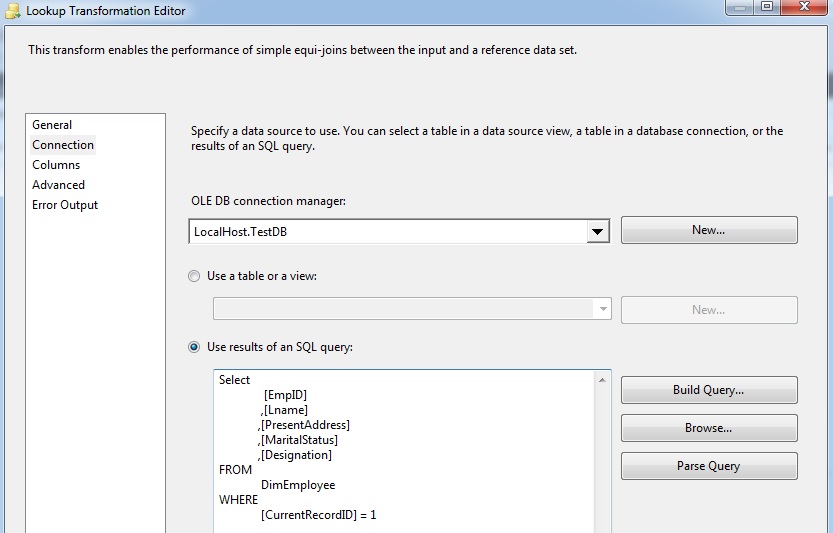
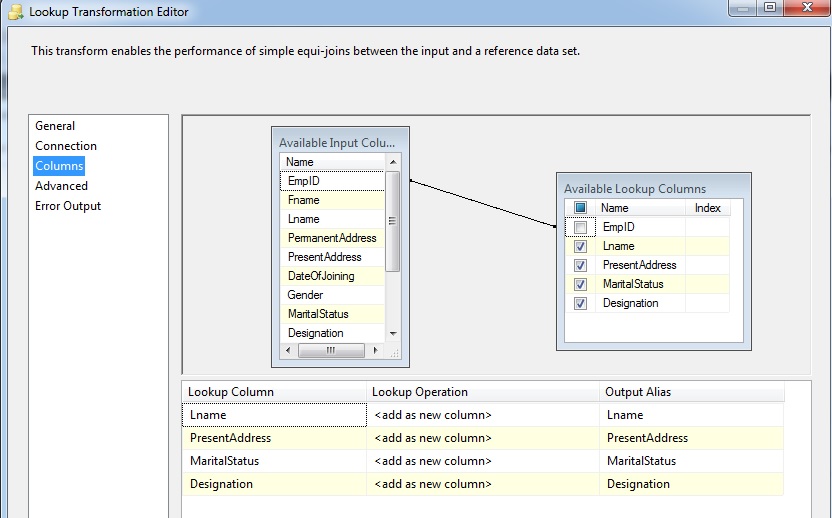
Now, drag and drop a look up transformation and connect the output of derived column to it and edit it as shown below.
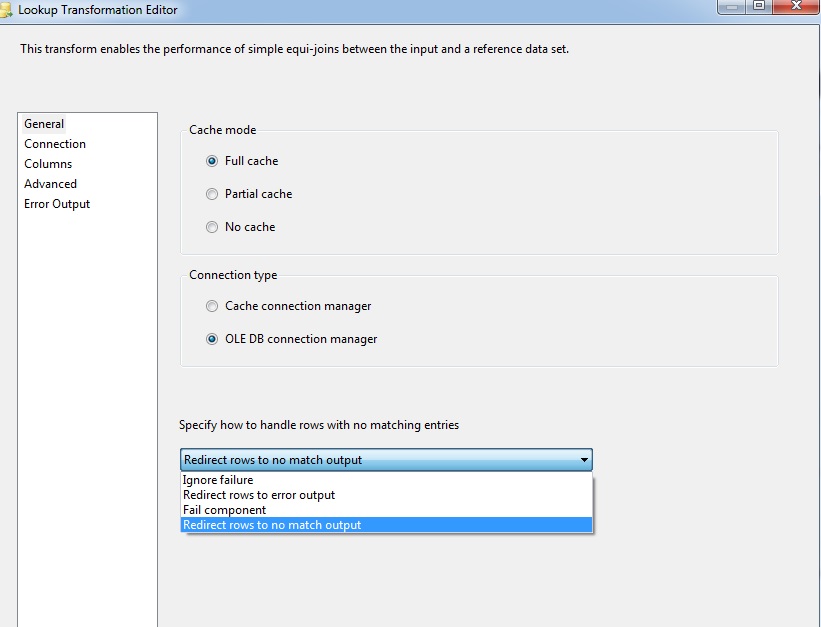
Now, drag and drop an OLE DB Destination and connect the look up no match output to it as shown below.
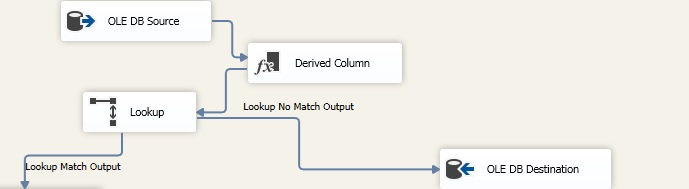

So, till here we are done with all new records coming to Dimension table.
Now drag and drop a conditional split transformation in data flow tab and connect the lookup match output to it as shown below and edit it.
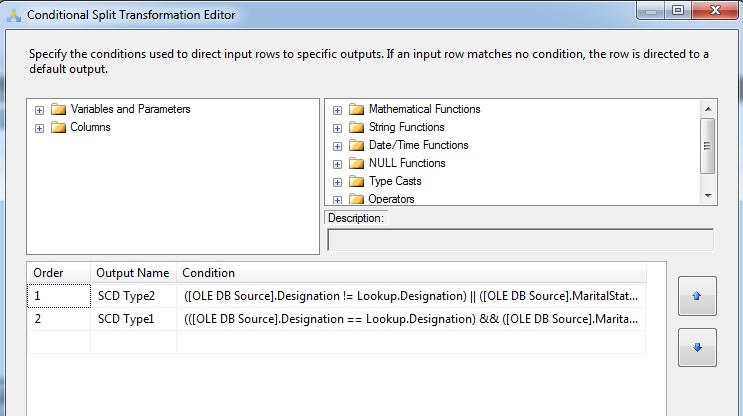
The Conditions in the conditional split transformation are shown below in detail.
For SCD Type2:
So, the condition says if there is a mismatch between any of the SCD Type2 attributes a new record will be inserted and current record will become historical record.
For SCD Type1:
So, the condition says if there is mismatch between SCD Type1 attribute which in this case is PresentAddress an update will happen on the current record.
For SCD Type0 (Fixed attributes) we are not redirecting the output to any destination as the attributes remain fixed.
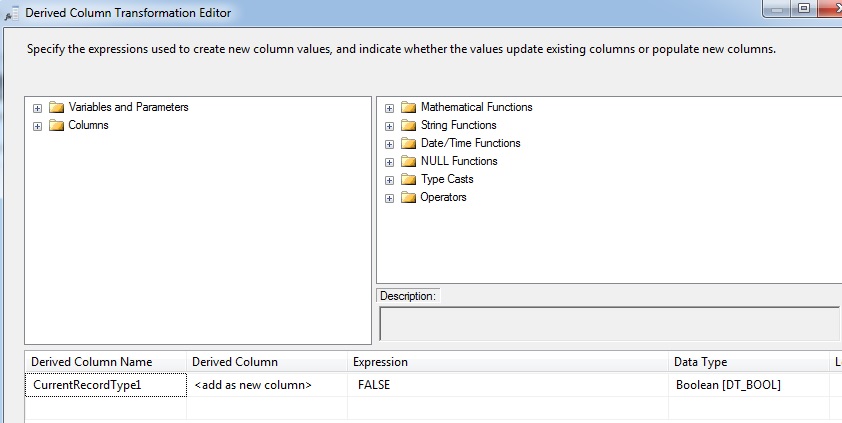
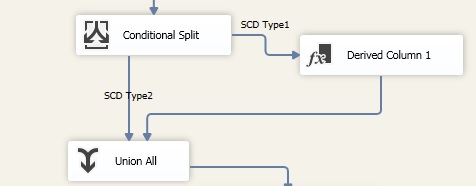
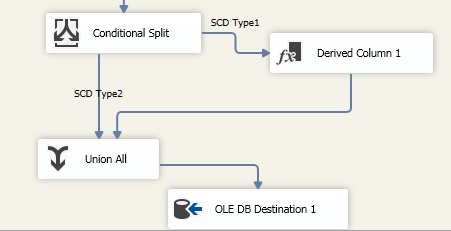
Now drag and drop a Derived column transformation in Data flow tab, connect the SCD Type1 output from Conditional split transformation and edit it as shown below.

Now drag and drop a Union All transformation in Data flow tab, connect the SCD Type2 output from Conditional split and output from Derived Column transformation we added in step above as input to Union All transformation.
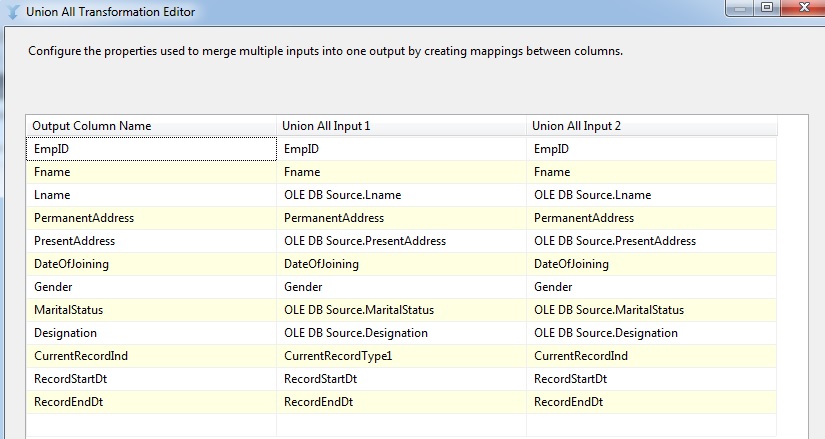
Now, for storing the results of SCD Type2 and Type1 we are going to create a Temp table having the same structure as that of our Dimension table. So, we will go back to Control flow.
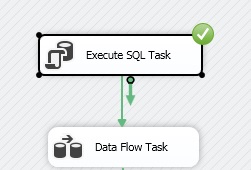
We will add an Execute SQL Task and place it before our Data flow task as shown below.
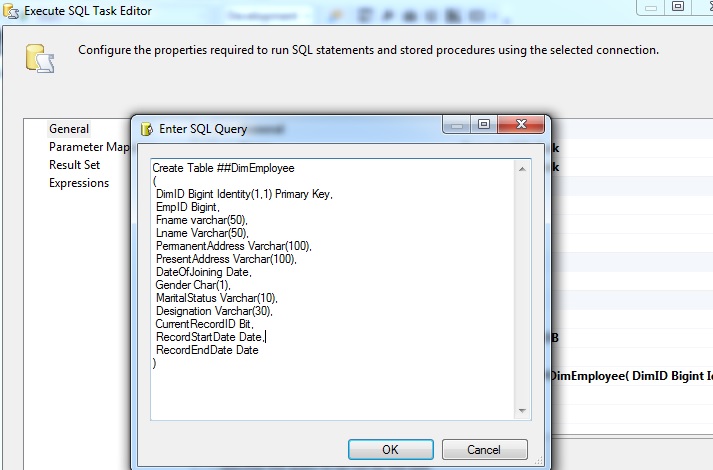
Once our temp table create statement is in place in Execute SQL Task, We will change some properties to let the package execute smoothly.
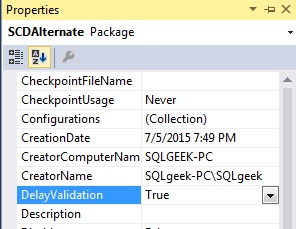
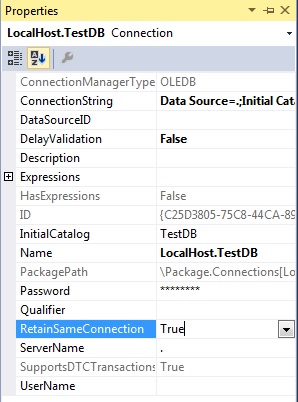
- Set the property DelayValidation to TRUE as shown below.
- Set the RetainSameConnection on Connection Manager to True where the Temp table is been created. Since in this case we have one connection manager. So, we change the property of our connection manager as shown below.
Now, we go back to our Data flow tab and drag and drop an OLE DB destination and connect the output of Union All transformation to it as shown below.
Now, go back to Control flow and execute the Execute SQL Task we configured to create the Temp Table as shown below.
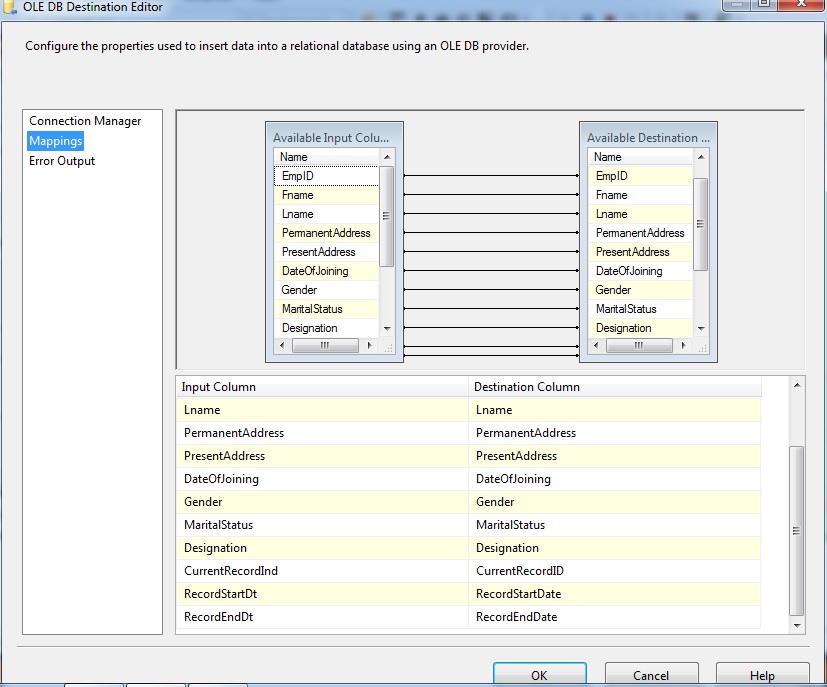
Don’t stop debugging the package and go the Data flow task and edit the OLE DB destination we added in step above as shown below.

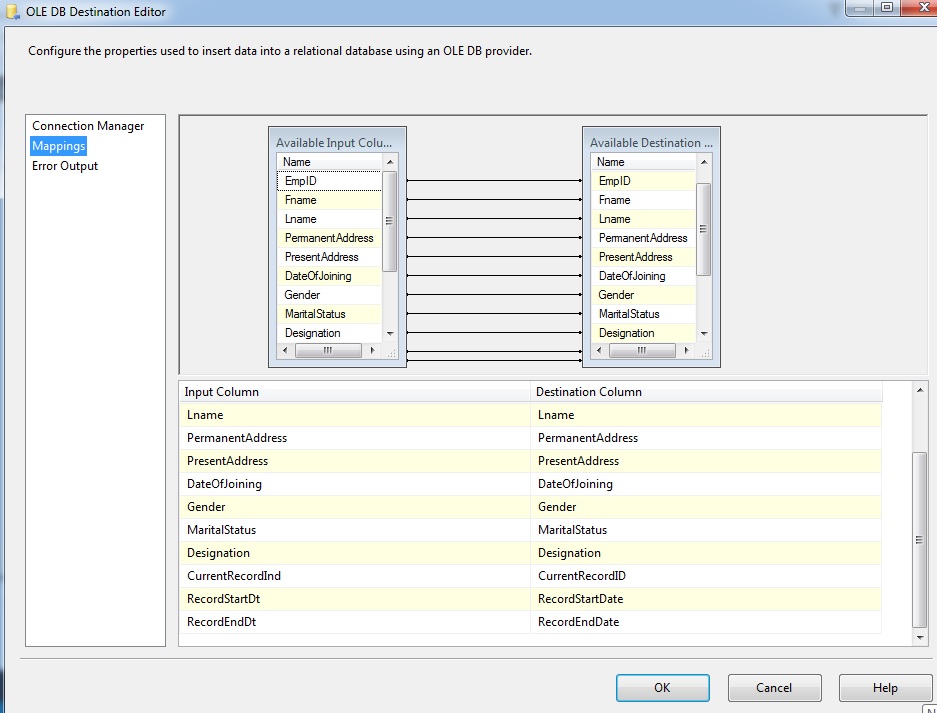
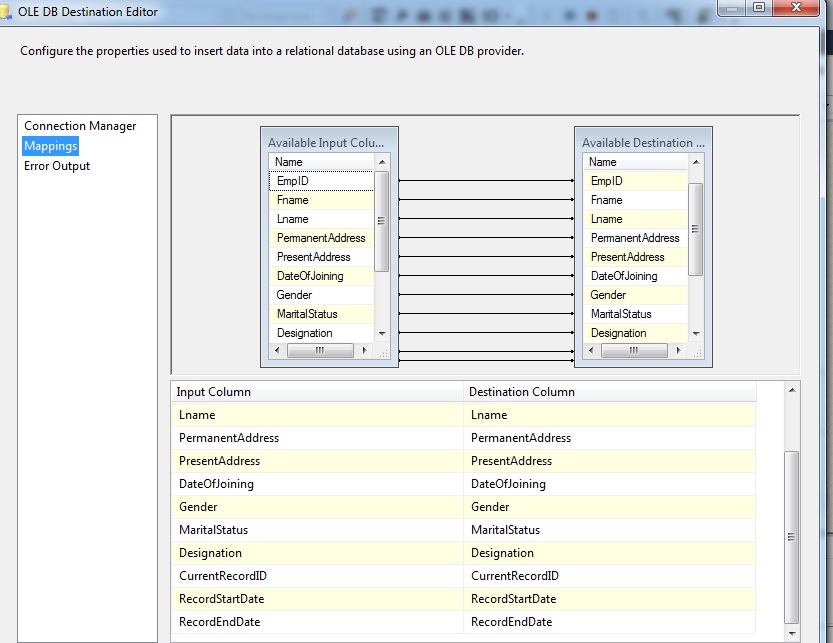
Map the columns as shown below.
Now, stop debugging the package and your Data Flow looks something like below.

Now, our temp table will have all the records which comes under SCD Type 1 and Type2.
In next step we will process all the records that are of SCD Type1.
So, we drag and drop an Execute SQL Task in Control Flow tab and place it after our Data Flow task and edit it as shown below.

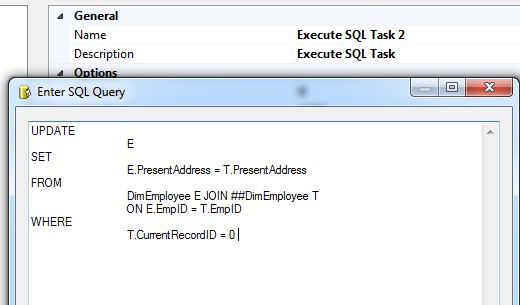
So, in the step above we are updating our dimension table for SCD Type1 attribute (PresentAddress).
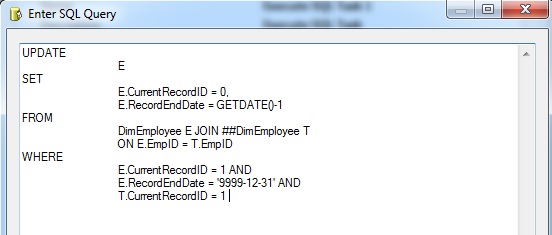
Now, we will process the SCD Type2 records first by making the current records to historical records in the dimension table and then by inserting the current records from temp table to Dimension / target table.
Now, drag and drop an Execute SQL Task after previous Execute SQL task and configure it as shown below.
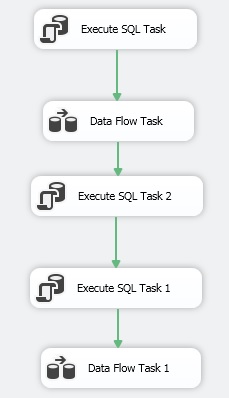
Now, we have historical records in our dimension table. So, we need to have current records into our Dimension table. For that we add another data flow task in control flow tab and edit it.
In the Data flow tab add an OLE DB Source and execute the very first Execute SQL task to create the Temp table and now edit the OLE DB Source as shown below.

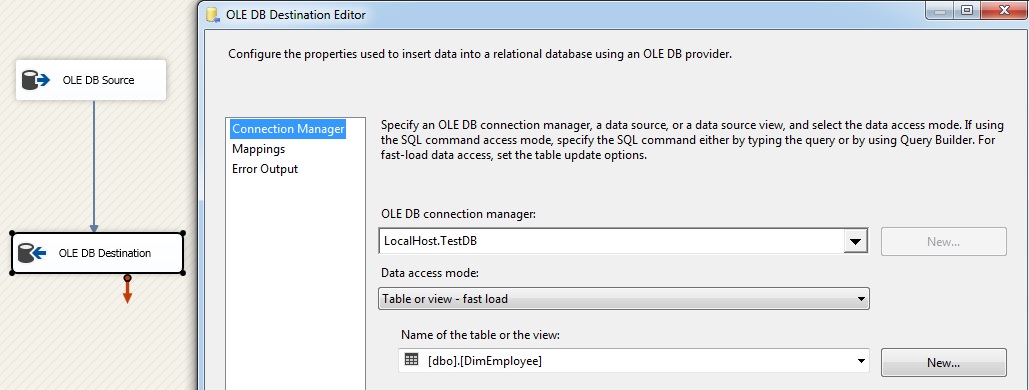
Now, drag and drop an OLE DB Destination and configure it as shown below.
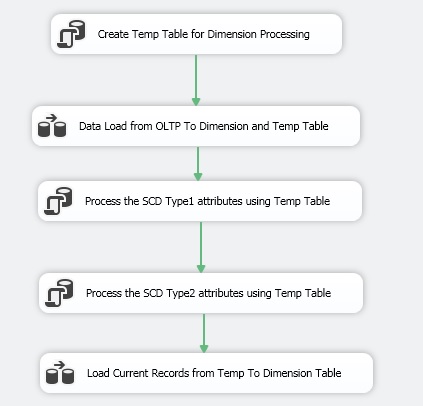
Stop debugging the package and give some meaningful names to the tasks and transformations.
Now, your package should resemble to something like below.
Execute the package, update the attributes in the source table then execute the package again.
So, we created a package to achieve the same effect of SCD without using SCD transformation.
Happy Learning!!!